


It was love at first sight...I wrapped the wreath in a spring green and made extra flowers to be placed on it. After I was finished, I decided I didn't like the white wrapping around the big pink flower, but it was too late :/ But I will love it still. I hung this wreath on the front door and it looks fab.
Here's what you will need to make this wreath:

wreath (I used a straw wreath, which gives a slightly "bumpy" feel to it, which I like for certain wreaths. Also, they are MUCH cheaper and fatter)
1-2 skeins of yarn (I used green)
Lots of felt (I used yellow, pink, orange and white for the flowers and two shades of green for the leaves)
hot glue, scissors and a piece of ribbon to hang it

Wrap the yarn around the wreath. You can go around once and be sure that no wreath is showing or twice, which will use more yarn. I wrapped once but would go back after a few inches of wrapping and re wrap any layers that had spaces. Do you see how the wreath's edges aren't completely smooth? This is what I mean by "bumpy". If you use a straw wreath, leave the plastic ON.

I made two different kinds of flowers, some rolled felt flowers and some "mums". To make the rolled felt flowers, make a circle and spiral cut until you have a small circle left in the middle. Then, hot glue and roll starting from the outermost end (not the small circle end). The larger the circle you start with, the larger the finsihed flower! I had a few different sizes of flower for this wreath.
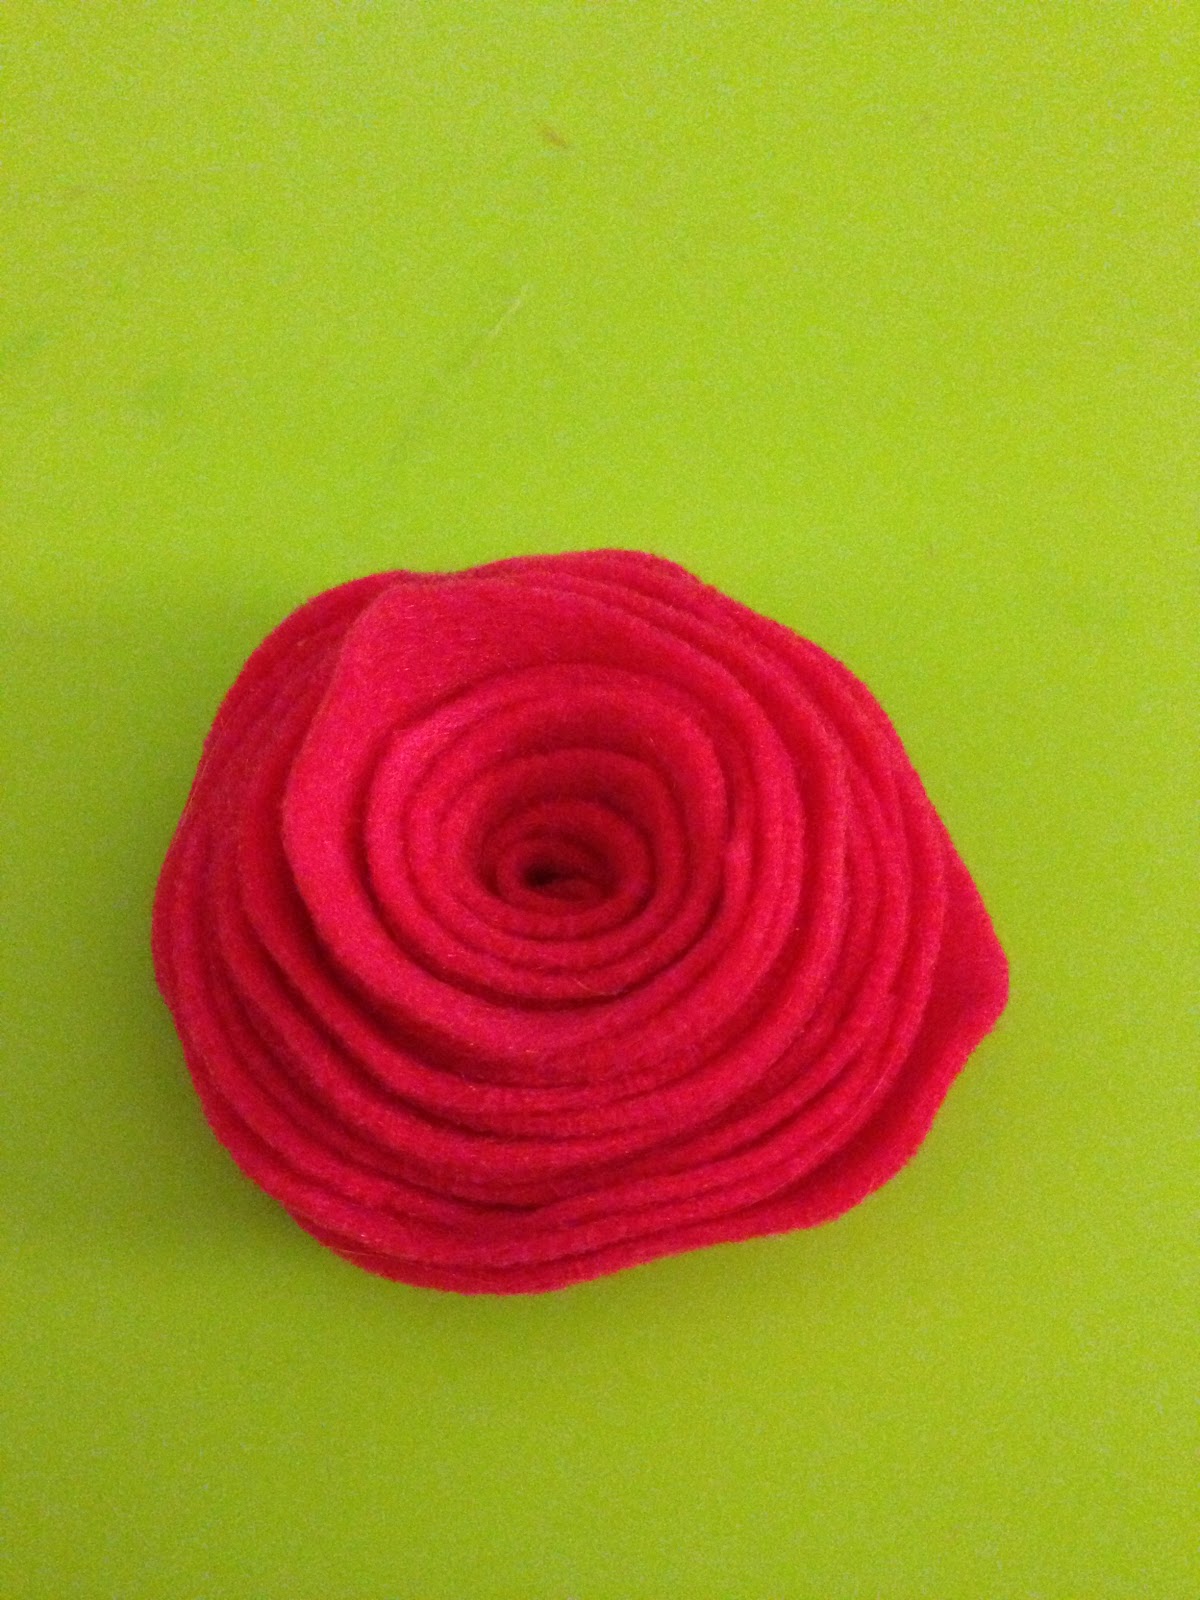
Ta-da! Easy and pretty. I refer to this as the "rolled felt flower".

To make the "mum" style, cut a strip of two inch wide felt, the longer the felt, the larger the flower. Fold it in half and glue it together, with the glue ONLY being by the outside, not the inside by the fold.

Cut little slits from the fold to the outside, but not through it!

Roll and glue it, just like the rolled felt flower. I also made a few different sizes of these as well and also made some that had a single layer of a contrasting color around the outside.

Arrange the flowers on the size how you like, gluing some leaves under the outer ones. Tie your ribbon to the top and you are done! I LOVE this wreath (except that dang white part which is all I keep seeing!). It looks so nice on my front door. We have a fairly large overhang, so I'm not worried about the rain getting it (and the fact that it hardly rains).
Now, onto the fun part! I bought enough supplies to make ANOTHER spring wreath (minus that weird white part!) and I would like to share the love and give it away to one of my fellow wreath loving readers!
**If you would like a chance to win this gorgeous wreath (that sell on Etsy for over $40 by the way!) then SHARE this link either on Facebook or Twitter and leave me a comment below ON THE BLOG telling me you did so! If you love me a whole lot, then feel free to share on both!!!**
This give-a-way will end on this Friday the 8th at 7:00pm (AZ time). I will randomly choose a winner and announce them on Friday.
Good luck and happy sharing!! <3

1 comments:
So, now that I am a stay-at-home mom, I thought I would have time to do things like the above project . . .yeah right! You are super mom for sure. I shared your link - this wreath would look lovely on my door. :)
Post a Comment
Show me some love with a comment!!